Embark on a flavorful journey with this detailed guide to create exceptional homemade sourdough bread. Uncover the secrets to a perfect crust, airy crumb, and tangy flavor that will elevate your baking skills. Discover the simple steps and scientific principles involved in making artisan-quality loaves.
Table of Contents
- Ingredients
- Instructions
- Scientific Breakdown of the Baking Process
- Achieving the Perfect Rise and Texture
- Variations for Every Palate
- Strategic Serving and Storage Solutions
- Essential Knowledge for Successful Loaves
- Deep Dive FAQ
- A Legacy in Every Slice
- Nutrition Information
- Disclaimer
- Final Recipe Card
Ingredients
| Ingredient | Quantity | Notes |
|---|---|---|
| Strong Bread Flour | 500g | For gluten development |
| Water | 350g | Filtered, lukewarm |
| Sourdough Starter | 100g | Active and bubbly |
| Salt | 10g | Sea salt or kosher salt |
Instructions
- Combine flour and water in a bowl. Mix until just combined and shaggy. Let rest (autolyse) for 30-60 minutes.
- Add starter and salt. Mix thoroughly until well incorporated.
- Perform bulk fermentation: Fold dough every 30-45 minutes for the first 2-3 hours.
- Let dough rest for a total of 4-6 hours, or until doubled in size, depending on temperature.
- Gently shape the dough into a round or oblong shape.
- Place dough in a well-floured banneton basket, seam-side up.
- Refrigerate the dough for 12-24 hours for a cold proof.
- Preheat oven to 250°C (482°F) with a Dutch oven inside for at least 30 minutes.
- Carefully remove Dutch oven. Place dough inside, score the top.
- Cover and bake for 20 minutes.
- Remove the lid and bake for another 25-30 minutes, or until golden brown.
- Let cool completely on a wire rack before slicing.
Scientific Breakdown of the Baking Process
The success of sourdough relies on the symbiotic relationship between wild yeasts and bacteria in the starter. The autolyse process allows flour to fully hydrate, developing gluten. Bulk fermentation facilitates carbon dioxide production, leading to dough expansion. Proofing chills the dough, enhancing flavor and shaping stability. High oven temperature creates steam within the Dutch oven, yielding a crisp crust.
Achieving the Perfect Rise and Texture
A robust starter, precise hydration levels, and careful temperature control are crucial for a successful rise. Folding the dough strengthens gluten, resulting in an airy crumb. Cold proofing not only develops flavor but also slows down fermentation, creating a more manageable dough.
Variations for Every Palate
Experiment with additions like roasted garlic, herbs (rosemary, thyme), cheese (cheddar, parmesan), or seeds (sunflower, pumpkin) during the bulk fermentation or shaping stages. Adjust hydration levels for different flour types (whole wheat, rye). Consider adding a small amount of honey or molasses for a subtle sweetness.
Strategic Serving and Storage Solutions
Serve warm with butter, olive oil, or alongside soups and salads. Store leftover bread in a bread box or wrapped tightly in plastic wrap at room temperature for up to 3 days. For longer storage, freeze in a freezer bag or wrapped tightly in foil. Reheat in the oven for a crisp crust.
Essential Knowledge for Successful Loaves
Understand the importance of starter activity. Monitor dough temperature throughout fermentation. Scoring the dough allows for controlled expansion during baking. Observe the loaf’s color to determine doneness. Patience is key – allow adequate cooling time before slicing.
Deep Dive FAQ
- Q: My sourdough is too dense. What am I doing wrong? A: Likely underdeveloped gluten, weak starter, or over-proofing.
- Q: How do I maintain my sourdough starter? A: Feed it regularly with equal parts flour and water.
- Q: Can I use all-purpose flour instead of bread flour? A: Bread flour is recommended for its higher protein content, but all-purpose can be used as a substitute, yielding a slightly less chewy texture.
A Legacy in Every Slice
Each loaf represents dedication to the craft of sourdough baking, with roots extending to ancient traditions. Savor the taste of history and create lasting memories with every slice. Share warmth, and let your kitchen become your legacy.
Nutrition Information
| Nutrient | Amount per Slice (approx. 70g) |
|---|---|
| Calories | Approx. 200 |
| Total Fat | 1g |
| Saturated Fat | 0g |
| Cholesterol | 0mg |
| Sodium | 200mg |
| Total Carbohydrate | 40g |
| Dietary Fiber | 2g |
| Sugar | 1g |
| Protein | 7g |
Disclaimer
Always ensure ingredients are stored properly and follow safe food handling practices. This recipe is a guide and results may vary depending on ingredients, equipment, and baking conditions. Consume at own risk. Always check internal temperature for bread doneness to ensure food safety.
Final Recipe Card
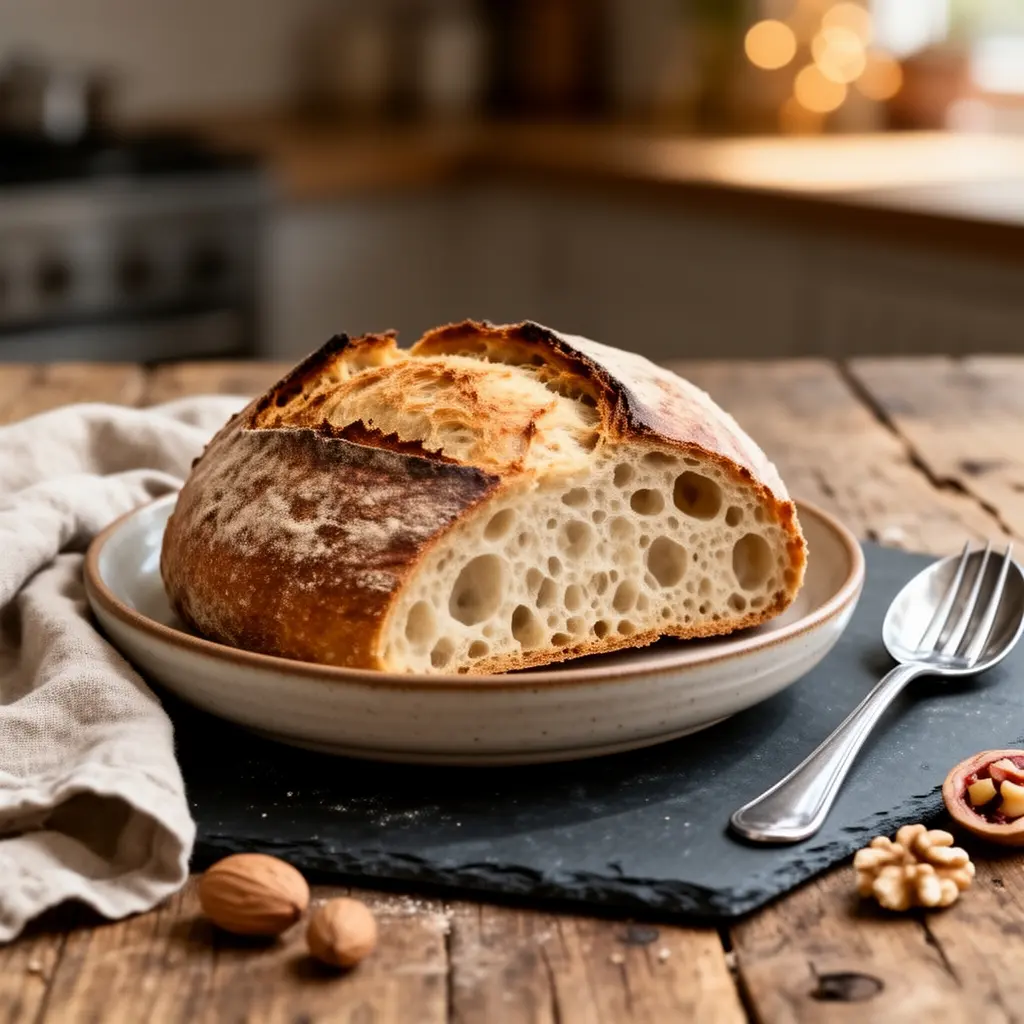
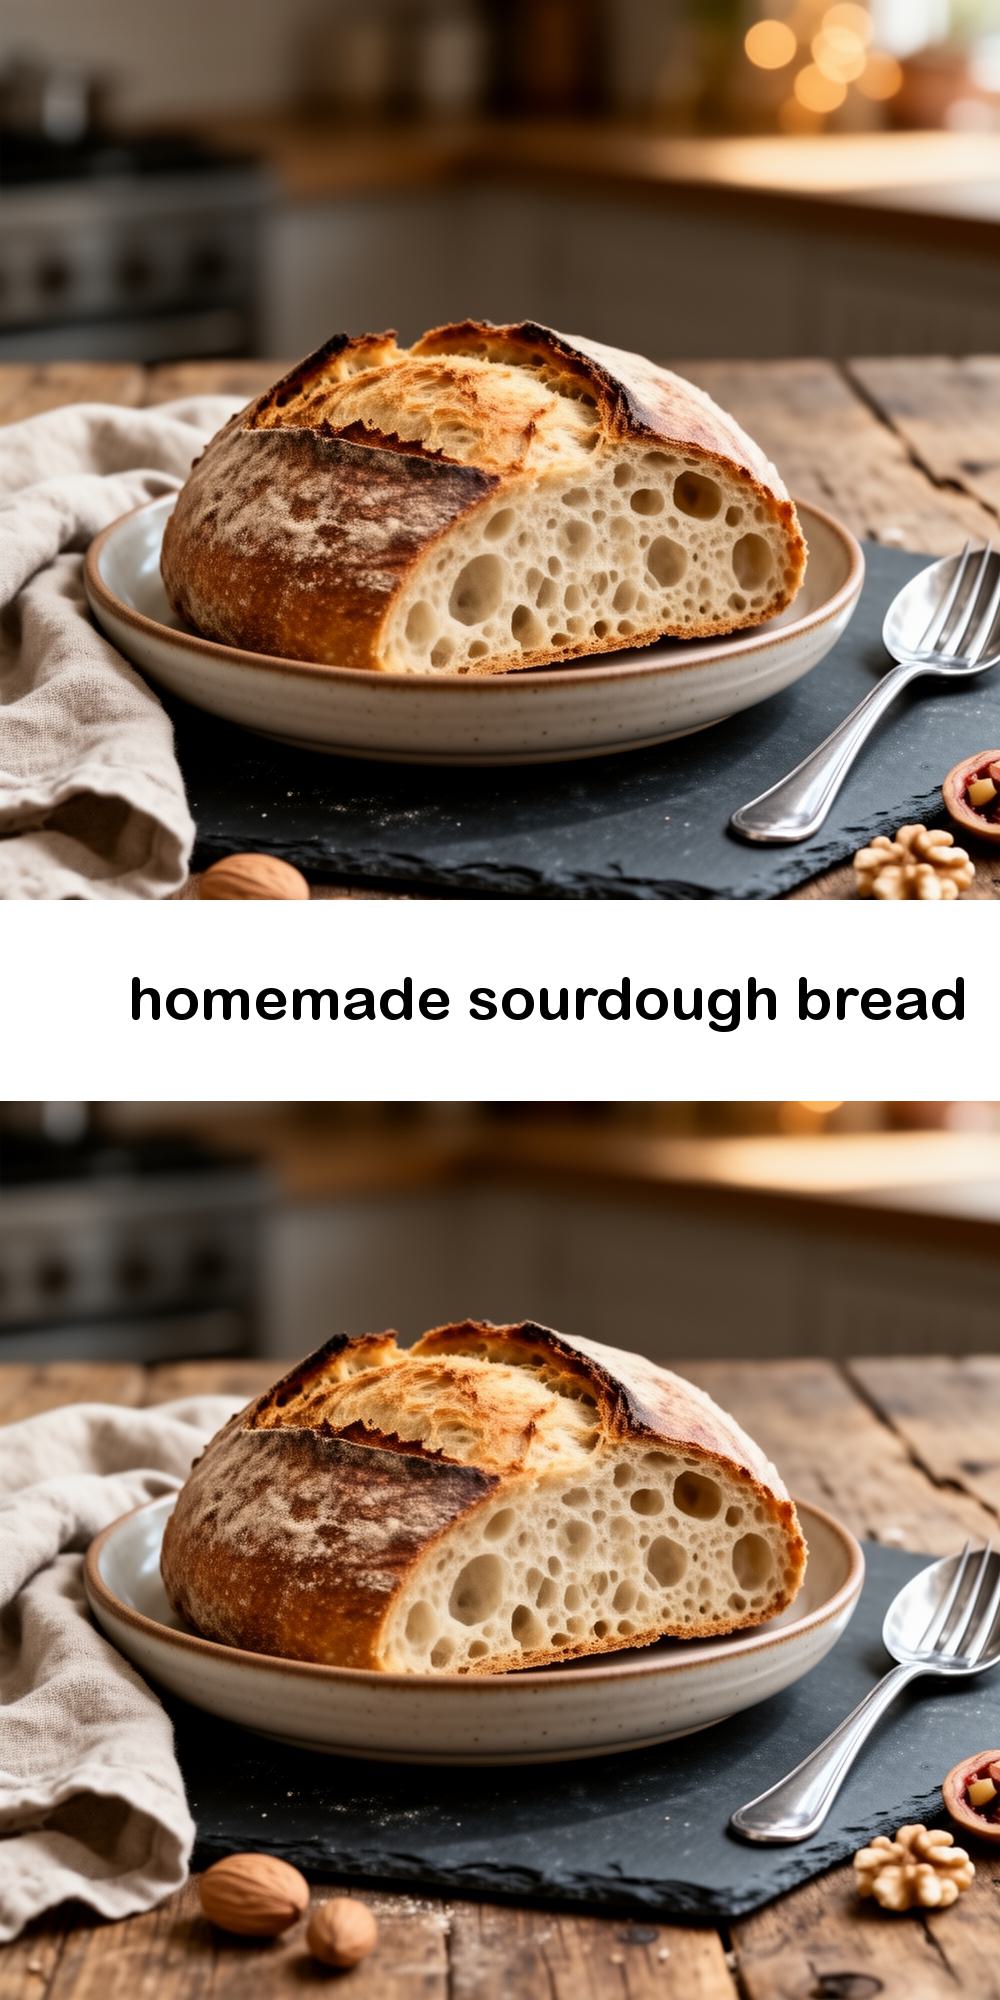
homemade sourdough bread
This sourdough boasts a deeply caramelized, crunchy crust, contrasting beautifully with its soft, tangy interior. The complex flavors deepen over time, making it perfect for any meal.
15m
45m
60m
8
INGREDIENTS
- 500g Strong Bread Flour
- 350g Water (lukewarm)
- 100g Active Sourdough Starter
- 10g Salt
INSTRUCTIONS
- Mix flour and water, rest 30-60 minutes (autolyse).
- Add starter and salt, mix until combined.
- Bulk ferment with folds every 30-45 minutes for 2-3 hours. Rest 4-6 hours total.
- Shape dough and place in banneton.
- Cold proof for 12-24 hours.
- Preheat Dutch oven to 250°C (482°F).
- Bake covered for 20 minutes, then uncovered for 25-30 minutes.
- Cool completely before slicing.
EQUIPMENT
- Large Mixing Bowl
- Banneton Basket
- Dutch Oven
- Dough Scraper
- Wire Rack