The dessert landscape is filled with complex pastries and intricate bakes, but few treats evoke the same sense of nostalgic joy as the classic Poke Cake. This vintage masterpiece is more than just a dessert; it is a vibrant, multi-textured experience that combines the airy lightness of a sponge with the cool, refreshing saturation of fruit-flavored gelatin. Whether you are hosting a backyard barbecue in the heat of July or looking for a colorful addition to a holiday spread, this recipe delivers a moist, flavor-infused bite that keeps guests coming back for second helpings. Its beauty lies in its simplicity, proving that with a few pantry staples, you can create a centerpiece that looks as good as it tastes.
Table of Contents
Essential Components for the Perfect Poke Cake
To recreate this timeless favorite, you will need a selection of reliable ingredients that work in harmony to produce the signature “striped” look and moist crumb. Please ensure all your refrigerated items are at room temperature before beginning to ensure the smoothest batter possible.
- One 18.25 ounce package of white cake mix
- One 3.5 ounce package of instant vanilla pudding mix
- Four large eggs
- One cup of water
- One quarter cup of vegetable oil
- One 3 ounce package of fruit flavored Jell-O mix (pick your favorite color)
- One cup of boiling water
- One cup of ice water
- One 12 ounce container of frozen whipped topping, fully thawed

Step-by-Step Culinary Preparation
- Begin by heating your oven to 350 degrees Fahrenheit. While the oven reaches temperature, carefully grease and flour a standard 9 by 13 inch baking pan. This ensures your cake releases cleanly from the edges.
- In a large mixing bowl, combine the white cake mix, the instant vanilla pudding mix, the four eggs, one cup of water, and the one quarter cup of vegetable oil. Using an electric mixer set to medium speed, beat the mixture for exactly four minutes. This extended mixing time is crucial for aerating the batter and incorporating the pudding mix thoroughly.
- Transfer the smooth batter into your prepared baking pan, smoothing the top with a spatula.
- Place the pan in the center of the oven and bake at 350 degrees Fahrenheit for 45 to 50 minutes. You will know it is finished when the surface is golden and the cake springs back immediately when lightly touched in the center.
- Remove the cake from the oven and allow it to sit in the pan on a wire rack for 15 minutes. This cooling period allows the structure to set slightly before the liquid is added.
- While the cake cools, prepare the gelatin infusion. In a heat-safe bowl, dissolve the 3 ounce package of fruit flavored gelatin in one cup of boiling water. Stir until no crystals remain, then stir in the one cup of ice water.
- Using a fork, poke holes across the entire surface of the warm cake at approximately one half inch intervals. Ensure you reach deep into the cake but do not hit the bottom of the pan.
- Slowly and evenly pour the liquid gelatin over the cake, allowing it to seep into the holes.
- Transfer the cake to the refrigerator and allow it to chill for a minimum of 3 to 4 hours.
- Once the cake is completely cold and the gelatin has set, spread the thawed whipped topping over the top in an even layer. Keep the cake refrigerated until the moment of serving.

A Masterclass in Poke Cake Texture and Technique
The brilliance of this specific version of the Poke Cake lies in the addition of instant pudding mix directly into the cake batter. While many recipes use a standard cake mix, the inclusion of vanilla pudding creates a denser, more velvety crumb that can withstand the moisture of the gelatin without becoming mushy. When you beat the batter for four minutes, you are building a structure that is both sturdy and soft.
The “poking” process is where the magic happens. Using a fork creates smaller, more frequent channels for the gelatin to travel through, resulting in a beautiful marbled effect when the cake is sliced. If you prefer larger “tunnels” of color, some bakers use the end of a wooden spoon, but for this specific refined texture, the fork method is superior. Timing is also a factor; pouring the gelatin while the cake is still warm (but not hot) allows the liquid to be absorbed into the crumb rather than just sitting on top. This creates that legendary “melt-in-your-mouth” sensation that has made this recipe a staple for generations of American home cooks.
Personalizing Your Dessert: Variations and Swaps
One of the reasons the Poke Cake has remained a favorite for decades is its incredible versatility. While the base recipe calls for white cake and vanilla pudding, you can easily shift the flavor profile to suit any occasion.
For a citrus-forward treat, consider using a lemon cake mix paired with lemon or lime gelatin. If you are a fan of berry flavors, a strawberry or raspberry gelatin over the white cake provides a striking visual contrast. For those managing sugar intake, this recipe translates exceptionally well to sugar-free alternatives. You can substitute a sugar-free cake mix, sugar-free instant pudding, and sugar-free gelatin without losing the structural integrity of the dessert.
If you prefer a richer topping, some bakers choose to fold a little extra vanilla pudding into the whipped topping before frosting, creating a “sturdier” whipped frosting that holds its peaks longer in warm weather. Regardless of the flavor combination, the ratio of liquid to cake remains the same to ensure the perfect level of hydration.
The Science of the Perfect Chill and Serving Suggestions
Temperature control is the secret ingredient in a successful Poke Cake. The chilling period of 3 to 4 hours is not a suggestion; it is a requirement. During this time, the gelatin transitions from a liquid state into a soft solid, binding with the cake fibers. If you cut the cake too early, the gelatin may still be runny, leading to a “soggy” bottom rather than a moist crumb.
When it comes to serving, this cake is best enjoyed cold, directly from the refrigerator. Because of the whipped topping and the moisture content, it should not sit at room temperature for more than thirty minutes. To make the presentation even more appealing, consider garnishing the top with fresh fruit that matches the flavor of the gelatin used—such as fresh sliced strawberries, blueberries, or even a zest of lime. The contrast between the creamy topping, the moist cake, and the fresh fruit creates a sophisticated finish to a very simple recipe.
Navigating Common Kitchen Questions
Can I make this cake a day in advance?
Absolutely. In fact, many enthusiasts argue that a Poke Cake tastes even better on the second day. The extra time allows the flavors of the fruit gelatin to fully permeate the vanilla base, and the whipped topping stays perfectly stable when kept in a cold environment. Just be sure to cover the pan tightly with plastic wrap or a lid to prevent the cake from absorbing any odors from the refrigerator.
What is the best tool for making the holes in the cake?
While this recipe recommends a fork for a delicate, speckled appearance, you can vary the tool based on the look you want. A skewer or a toothpick creates very fine lines of color, while the rounded handle of a wooden spoon creates large “wells” of gelatin. For the most consistent moisture distribution, the half-inch intervals with a fork are the gold standard.
Why did my gelatin stay on top of the cake instead of soaking in?
This usually happens if the cake has cooled too much or if the holes aren’t deep enough. To ensure the gelatin travels through the cake, make sure you are poking the holes while the cake is still warm to the touch. This keeps the “pores” of the cake open and ready to absorb the liquid. Also, ensure your gelatin is completely dissolved in the boiling water before adding the ice water to prevent any clumping.

A Sweet Note on Tradition
The Poke Cake represents a wonderful era of American baking where efficiency met creativity. It is a dish that reminds us that you don’t need a professional pastry kitchen to create something that brings people together. Its bright colors and refreshing taste make it a perennial favorite for a reason. By following these steps and respecting the chilling process, you are guaranteed a dessert that is as reliable as it is delicious.
Nutritional Profile and Breakdown
| Nutrient | Amount Per Serving |
| Calories | 336 |
| Total Fat | 15 grams |
| Saturated Fat | 6 grams |
| Cholesterol | 53 milligrams |
| Sodium | 410 milligrams |
| Total Carbohydrates | 46 grams |
| Dietary Fiber | 0 grams |
| Total Sugars | 32 grams |
| Protein | 4 grams |
Recipe Disclaimer
Please note that nutritional values are estimates based on standard ingredients. Actual nutritional content may vary depending on specific brands used and portion sizes. Consult with a healthcare professional for specific dietary needs.
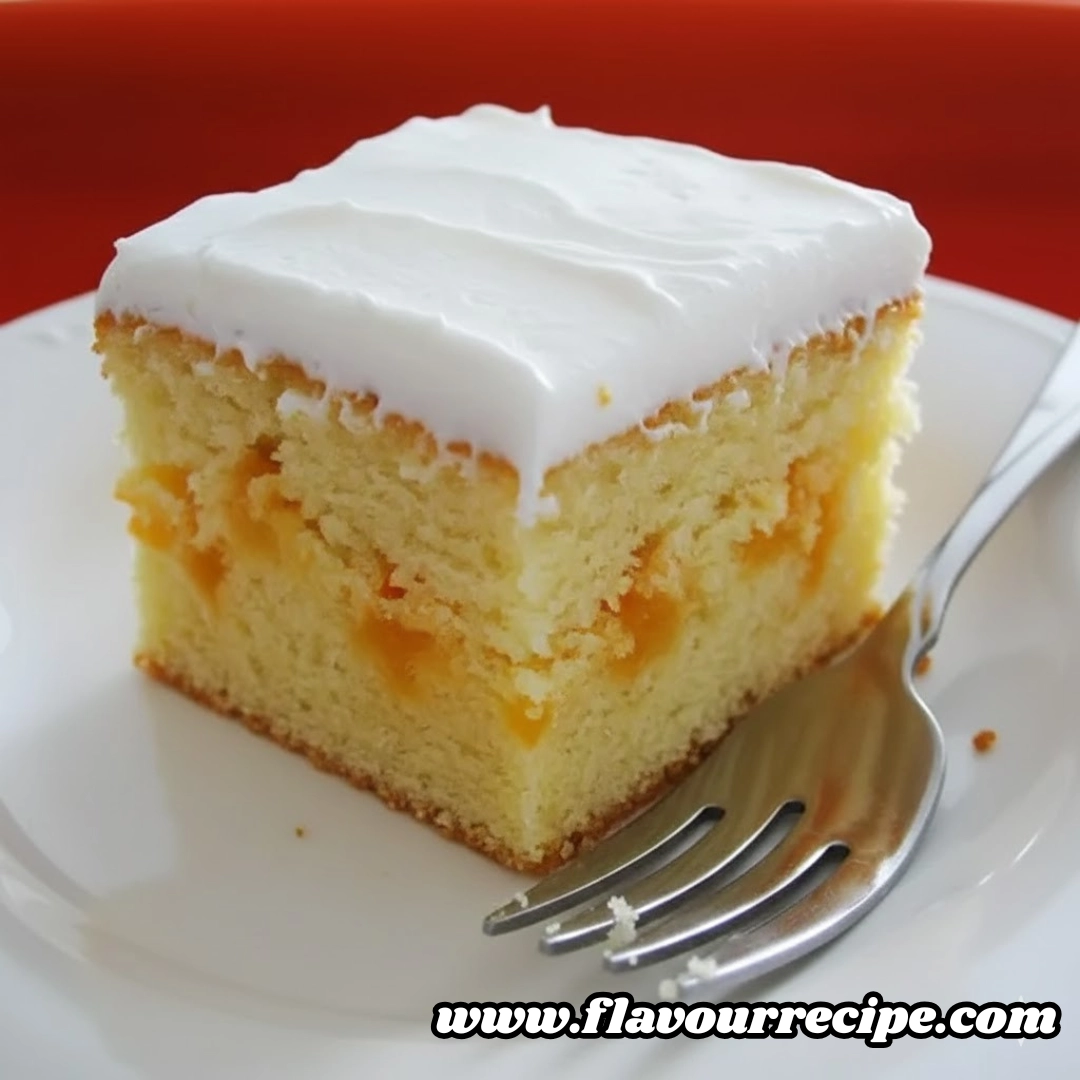
PrintDeep Dive into the Classic Poke Cake

A nostalgic, ultra-moist Poke Cake that combines white cake, vanilla pudding, and vibrant fruit gelatin. Topped with a cloud of whipped topping, it is the perfect refreshing dessert for any occasion.
- Prep Time: 20 mins
- Cook Time: 50 mins
- Total Time: 4 hours 10 mins
- Yield: 14 servings 1x
- Category: Dessert
- Method: Baking
- Cuisine: American
- Diet: Vegetarian
Ingredients
1 (18.25 ounce) package white cake mix
1 (3.5 ounce) package instant vanilla pudding mix
4 eggs
1 cup water
1/4 cup vegetable oil
1 (3 ounce) package fruit flavored Jell-O mix
1 cup boiling water
1 cup ice water
1 (12 ounce) container frozen whipped topping, thawed
Instructions
1. Preheat oven to 350 degrees Fahrenheit. Grease and flour one 9×13 inch baking pan.
2. Combine cake mix, pudding mix, eggs, 1 cup water and the vegetable oil and blend well. Beat at the medium speed of an electric mixer for 4 minutes.
3. Pour batter into the prepared pan.
4. Bake at 350 degrees Fahrenheit for 45 to 50 minutes or until the cake springs back when lightly touched. Let cake cool in pan for 15 minutes.
5. Meanwhile, dissolve the gelatin in the boiling water, then add the cold water.
6. Poke holes in the warm cake with a fork at 1/2 inch intervals. Pour gelatin over cake.
7. Chill cake for 3 to 4 hours then frost with whipped topping. Keep cake refrigerated.
Notes
Ensure the cake is still warm when poking holes so the gelatin absorbs properly.
Use a fork for smaller, more frequent color streaks or a wooden spoon handle for larger pockets of flavor.
Keep the cake refrigerated until the moment of serving to maintain the texture of the whipped topping.
Nutrition
- Serving Size: 1 slice
- Calories: 336
- Sugar: 32g
- Sodium: 410mg
- Fat: 15g
- Saturated Fat: 6g
- Unsaturated Fat: 9g
- Trans Fat: 0g
- Carbohydrates: 46g
- Fiber: 0g
- Protein: 4g
- Cholesterol: 53mg


