There is a specific kind of magic that happens when salty, creamy peanut butter meets the snap of a rich chocolate shell. For many of us, that orange-wrapped classic is the gold standard of the candy aisle. However, depending on where you are in the world, those iconic treats can be surprisingly hard to find or unexpectedly expensive. Whether you are living abroad or simply looking to elevate your snack game, learning to make homemade reese’s cups is a culinary revelation. This version captures that elusive, slightly sandy, sweet-and-salty interior that defines the original, but allows you to use high-quality ingredients that make the final result even more indulgent than the store-bought version.
Table of Contents
Ingredients for Your Candy Kitchen
To begin this journey into homemade confectionery, you will need to gather a few pantry staples. Using the right type of sugar and chocolate is the secret to achieving that professional finish and authentic mouthfeel.
- 1 cup (250 grams) smooth peanut butter
- 60 grams (4 tablespoons) unsalted butter
- 1/4 cup (55 grams) brown sugar
- 1 cup (120 grams) icing sugar (also known as powdered sugar)
- 500 grams (16 ounces) chocolate specifically for melting

Master the Process: Step-by-Step Instructions
Creating these treats requires a bit of patience, specifically regarding the temperature of your components, but the actual labor is quite minimal.
- Begin by preparing your workspace. Line three mini muffin tins, each with 12 holes, using paper patties. This recipe makes roughly 30 to 36 mini cups.
- In a small saucepan set over medium heat, combine your smooth peanut butter, unsalted butter, and brown sugar.
- Stir this mixture constantly. You want the fats to melt and the sugar crystals to begin dissolving. Once the mixture starts to bubble gently, remove it from the heat immediately.
- Add the icing sugar to the warm peanut butter mixture. Do this in increments of 1/4 cup at a time, stirring vigorously after each addition to ensure the sugar is fully incorporated and smooth.
- Set the filling aside to cool. If you are in a hurry, placing it in the refrigerator will speed up the firming process.
- Place half of your melting chocolate (250 grams) in a microwave-safe bowl. Heat in 30 second bursts, stirring well between each interval until the chocolate is completely smooth.
- Carefully pour approximately 1 1/2 to 2 teaspoons of the melted chocolate into the bottom of each lined muffin cup.
- Take a slightly heaped teaspoon of the cooled peanut butter filling. Roll it into a small ball between your palms, then flatten it slightly to create a disc.
- Place one disc into the center of each chocolate-filled cup. Ensure the disc is smaller than the diameter of the cup so the chocolate can crawl up the sides.
- Place the tins in the refrigerator for at least 20 minutes to allow the base layer to set firmly.
- Melt the remaining 250 grams of chocolate using the same 30 second burst method.
- Pour another 1 1/2 to 2 teaspoons of chocolate over the top of the peanut butter discs. Gently tap the tin on the counter to level the chocolate and remove air bubbles.
- Refrigerate for another 20 minutes until the top shell is hard. Peel away the paper patties and enjoy.

Achieving the Perfect Textural Balance
The secret to a successful batch of homemade reese’s cups lies in the density of the filling. If the peanut butter is too soft or oily, it will simply mix with the chocolate rather than staying in its own distinct layer. By heating the peanut butter with butter and brown sugar, you are essentially creating a quick fudge. The addition of icing sugar provides that specific “short” texture—that slightly crumbly, melt-in-your-mouth quality that makes the original candy so addictive.
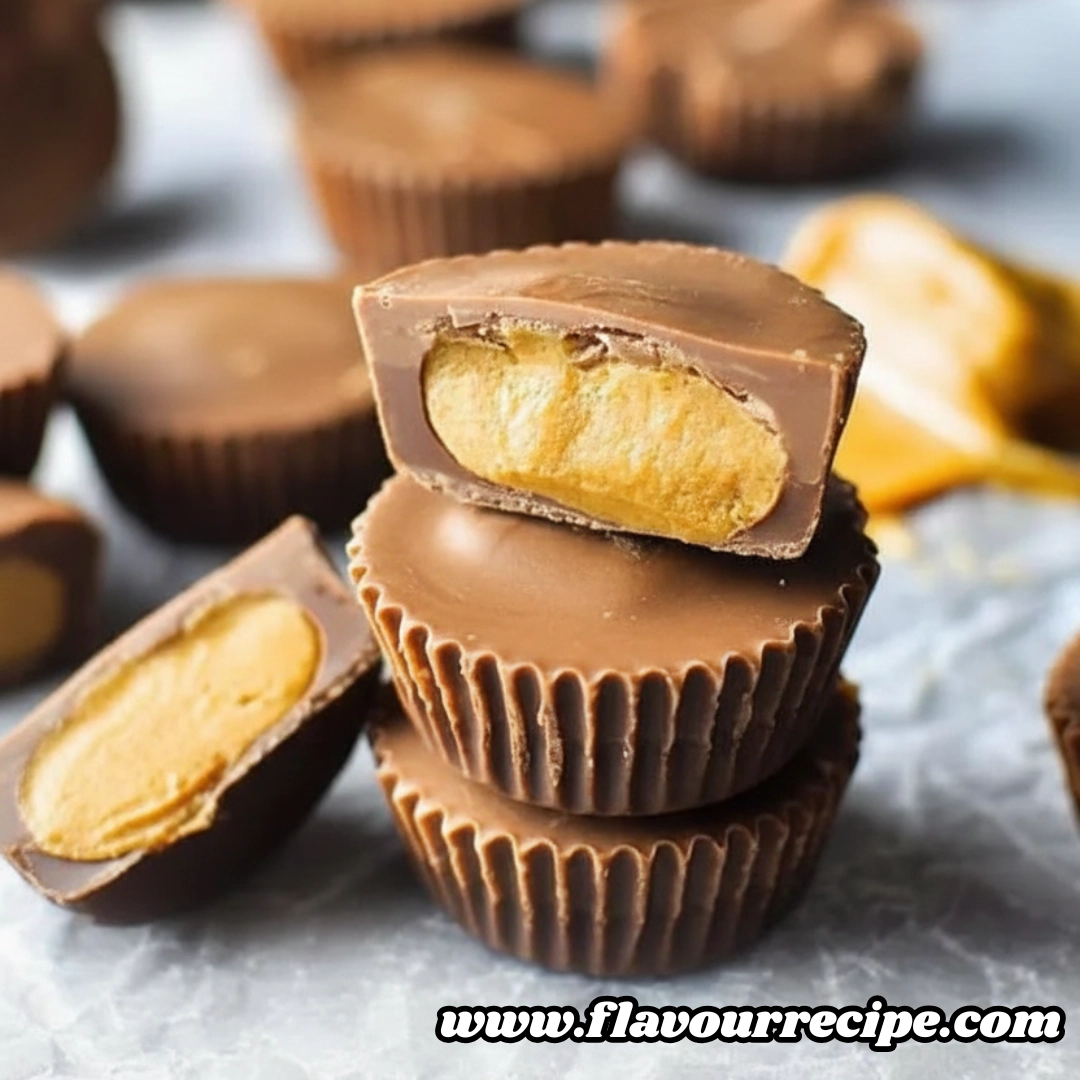
When you are rolling the filling into balls, make sure it is cool enough to handle. If the mixture is too warm, it will stick to your hands. Cooling is not just about convenience; it is about structural integrity. A chilled peanut butter disc creates a solid island for the warm chocolate to flow around. This ensures that when you bite into the cup, you see a clean, horizontal line of peanut butter sandwiched perfectly between chocolate layers.
Navigating Substitutions and Variations
While the classic recipe calls for smooth peanut butter and standard melting chocolate, there is plenty of room for customization once you have mastered the basic technique.
If you prefer a bit of crunch, you can certainly use extra-crunchy peanut butter. However, keep in mind that the “base” of the filling should still be smooth to hold the sugars correctly. For those with dairy sensitivities, a high-quality vegan butter substitute and dairy-free chocolate wafers work remarkably well in this ratio.
The choice of chocolate is perhaps the most impactful decision you will make. While the original candy uses a very sweet milk chocolate, many home cooks prefer a semi-sweet or even a dark chocolate with 70 percent cocoa solids to provide a sophisticated contrast to the sugary interior. If you find the filling too sweet, you can add a pinch of sea salt to the peanut butter mixture while it is melting on the stove. This enhances the savory notes of the nuts and balances the powdered sugar.
Sophisticated Serving and Storage Ideas
These peanut butter cups are a showstopper on their own, but they also make incredible gifts. Because they are homemade, they lack the preservatives found in commercial candy, giving them a much cleaner flavor profile.
For a beautiful presentation, try using metallic gold or patterned paper liners. If you are serving these at a party, they pair beautifully with a glass of cold milk or even a salty snack platter featuring pretzels and popcorn. To store them, keep them in an airtight container in the refrigerator. They will stay fresh for up to two weeks, though they rarely last that long. If you prefer a softer bite, take them out of the fridge about ten minutes before eating so the chocolate can lose its chill.
Deep Dive into Confectionery Science
What is the best type of sugar to use for the filling?
It is highly recommended to use a high-quality, finely sieved icing sugar. Some cheaper brands of powdered sugar contain higher amounts of cornstarch or larger granules which can result in a gritty or “sandy” texture that feels unrefined on the tongue. By using a premium brand and stirring it into the warm peanut butter, the sugar dissolves more effectively, creating a velvety consistency.
Why does the chocolate need to be refrigerated in two separate stages?
This is the most common question for first-time candy makers. If you pour the top layer of chocolate before the bottom layer and the peanut butter center have set, the weight of the top chocolate will displace the peanut butter. This often results in the filling sinking to the bottom or the chocolate mixing into the center, ruining the “cup” effect. The double-chill method ensures the peanut butter stays suspended in the middle of the chocolate shell.
Can I use regular eating chocolate bars for the shell?
You can, but it is much more difficult. Standard chocolate bars are designed for eating at room temperature and often contain milk solids that make them temperamental when melting. They may become “streaky” or soft once they reach room temperature again. Melting chocolate, often sold as “compounds” or “wafers,” is formulated to melt smoothly and set with a firm, professional snap without the need for complex tempering.
Essential Insights for Candy Success
Temperature control is your best friend in this recipe. When you are melting the chocolate in the microwave, it is better to be too slow than too fast. Chocolate can scorch in a matter of seconds, turning from a silky liquid into a grainy, burnt mess. Always use 30 second intervals and stir even if the chocolate still looks solid; the residual heat from the bowl often does the rest of the work.
Another tip for a professional look is the “counter-tap.” Once you have poured the final layer of chocolate, don’t just put the tray in the fridge. Give it several firm taps against your kitchen counter. This vibrations help the chocolate settle into a perfectly flat, glossy surface and forces any trapped air bubbles to rise to the top and pop. This results in a cleaner appearance that looks like it came straight from a boutique candy shop.
Nutritional Information and Profile
These treats are an indulgent snack, perfect for a special occasion or a mid-afternoon energy boost.
| Nutrient | Amount Per Serving (1 Cup) |
| Calories | 165 |
| Total Fat | 11 grams |
| Saturated Fat | 5 grams |
| Cholesterol | 4 milligrams |
| Sodium | 65 milligrams |
| Total Carbohydrates | 15 grams |
| Dietary Fiber | 1 gram |
| Sugars | 13 grams |
| Protein | 3 grams |
Disclaimer
Nutritional values are estimates based on standard ingredients and a yield of 30 servings. Actual nutritional content may vary depending on the specific brands of chocolate and peanut butter utilized in your kitchen.
A Final Word on Your Homemade Treats
Making your own candy is one of the most rewarding projects you can undertake in the kitchen. Not only do these homemade reese’s cups taste fresher and more vibrant than their mass-produced counterparts, but there is also a profound sense of satisfaction in peeling back that paper liner to reveal a perfect, hand-crafted sweet. Once you see how simple it is to manipulate chocolate and peanut butter into these iconic shapes, you may never find yourself reaching for the store-bought version again. They are a testament to the fact that with just five ingredients and a little bit of time, you can recreate world-class flavors right in your own home.
PrintHomemade Reese’s Peanut Butter Cups

This recipe for homemade peanut butter cups captures that perfect balance of salty, creamy filling and a snappy chocolate shell. Better than the original, these use high-quality ingredients for a superior treat.
- Prep Time: 20 minutes
- Cook Time: 10 minutes
- Total Time: 50 minutes
- Yield: 30–36 cups 1x
- Category: Dessert
- Method: No-Bake
- Cuisine: American
- Diet: Vegetarian
Ingredients
1 cup (250g) smooth peanut butter
60g (4 tbsp) unsalted butter
1/4 cup (55g) brown sugar
1 cup (120g) icing sugar
500g (16 oz) melting chocolate
Instructions
1. Line 3 x 12 hole mini muffin tins with paper patties.
2. Combine peanut butter, butter and sugar in a small saucepan over medium heat until melted and bubbling gently.
3. Remove from heat and stir in icing sugar 1/4 cup at a time until smooth. Cool filling.
4. Melt half the chocolate and pour 1.5 to 2 tsp into each liner.
5. Roll filling into balls, flatten into discs, and place in the center of the cups.
6. Refrigerate for 20 minutes until set.
7. Melt remaining chocolate, pour over the top, and tap to level.
8. Refrigerate for final 20 minutes before serving.
Notes
Use high-quality icing sugar for a smooth filling.
Avoid regular chocolate bars; use melting wafers for a better snap.
Store in the refrigerator for up to 2 weeks.
Nutrition
- Serving Size: 1 cup
- Calories: 165
- Sugar: 13 grams
- Sodium: 65 milligrams
- Fat: 11 grams
- Saturated Fat: 5 grams
- Unsaturated Fat: 6 grams
- Trans Fat: 0 grams
- Carbohydrates: 15 grams
- Fiber: 1 gram
- Protein: 3 grams
- Cholesterol: 4 milligrams


