Mastering a traditional Sunday dinner requires very few ingredients but an abundance of patience. This specific method for Grandma’s Best Pot Roast relies on a high-heat initial sear in the oven followed by a long, slow braise that transforms a leaner cut of beef into something remarkably tender. Unlike modern recipes that rely on heavy stocks or wine, this approach uses the natural moisture of the beef and onions to create a concentrated, savory jus. It is an ideal centerpiece for family gatherings or a quiet weekend meal where the oven does all the heavy lifting while the kitchen fills with a rich, nostalgic aroma.
Table of Contents
Essential Components for the Roast
- 3 pounds bottom round roast (trimmed but with a quarter-inch fat cap remaining)
- 1 large yellow onion, roughly chopped into large chunks
- One quarter teaspoon fine sea salt, plus more to taste
- One quarter teaspoon freshly ground black pepper
- One quarter teaspoon granulated garlic powder
- 1 cup filtered water
- 1 tablespoon all-purpose flour

Primary Preparation Steps
- Bring the oven to an initial temperature of four hundred Fahrenheit.
- Season the meat thoroughly on all surfaces and position it fat-side up in a heavy-bottomed roasting pan or Dutch oven.
- Surround and top the beef with the chopped onions, then cover tightly.
- Roast for ninety minutes until the onions soften and the exterior of the meat begins to brown.
- Lower the oven temperature to three hundred fifty Fahrenheit.
- Continue cooking for an additional three hours, turning the meat every thirty minutes to ensure even browning and moisture distribution.
- Verify the internal temperature has reached at least one hundred forty-five Fahrenheit, or until the fibers yield easily to a fork.
- Rest the meat under foil for twenty minutes while preparing the thickened pan gravy on the stovetop.

Mastering the Slow-Roasted Technique
The secret to this preparation lies in the dual-stage temperature approach. Starting at four hundred Fahrenheit serves a specific purpose: it jump-starts the Maillard reaction without the mess of stovetop searing. During the first hour and a half, the onions underneath the meat begin to caramelize in the rendered beef fat, creating a dark, flavorful base for your eventual sauce. You will notice a deep, savory scent filling the room; this is your cue that the sugars in the onion and the proteins in the beef are aligning perfectly.
Once you drop the heat to three hundred fifty Fahrenheit, the process shifts from browning to tenderizing. Bottom round is a muscular, lean cut, and it requires this extended time for the connective tissues to soften. Turning the roast every thirty minutes is not just a suggestion; it ensures that every side of the beef spends time submerged in the shallow pool of juices collecting at the bottom of the pot. This prevents the top from drying out while the bottom braises.
When checking for doneness, ignore the clock and trust the fork. While an internal temperature of one hundred forty-five Fahrenheit is the baseline for food safety, the “fall-apart” texture usually occurs when the meat offers no resistance when pierced and twisted with a dinner fork. If the meat feels bouncy or tough, replace the lid and give it another thirty to forty-five minutes.
The finishing touch involves the stovetop. After moving the roast to a resting board, you are left with concentrated drippings and melted onions. By mashing those onions directly into the pan, you create a thick, rustic texture. The flour and water slurry should be whisked in slowly to avoid clumps, allowing the gravy to simmer until it coats the back of a spoon.
Professional Success Strategies
- Fat is Flavor: Resist the urge to trim the roast completely lean. Leaving a quarter-inch layer of fat on top allows it to baste the meat naturally as it melts downward during the long roasting process.
- The Tight Seal: If your Dutch oven lid isn’t perfectly flush, place a piece of parchment paper or heavy-duty aluminum foil over the pot before putting the lid on. This traps every bit of steam inside, which is vital since we are using very little added liquid.
- Patience in the Rest: Slicing the beef immediately after it leaves the oven will cause the internal juices to run out, leaving the meat dry. A twenty-minute rest allows those juices to redistribute and settle back into the fibers.
- Onion Selection: Use a standard yellow or Spanish onion. These have a higher sulfur content than sweet onions, which provides a more robust, savory backbone to the gravy after four hours of cooking.
- The Turn: When flipping the meat every thirty minutes in the latter half of cooking, use tongs rather than a fork to avoid piercing the meat and losing internal moisture prematurely.
- Deglazing: If the bottom of your pot looks like it is getting too dark or “burnt,” add a splash of water mid-way through to loosen those brown bits (fond) so they don’t turn bitter.
Flavor and Ingredient Variations
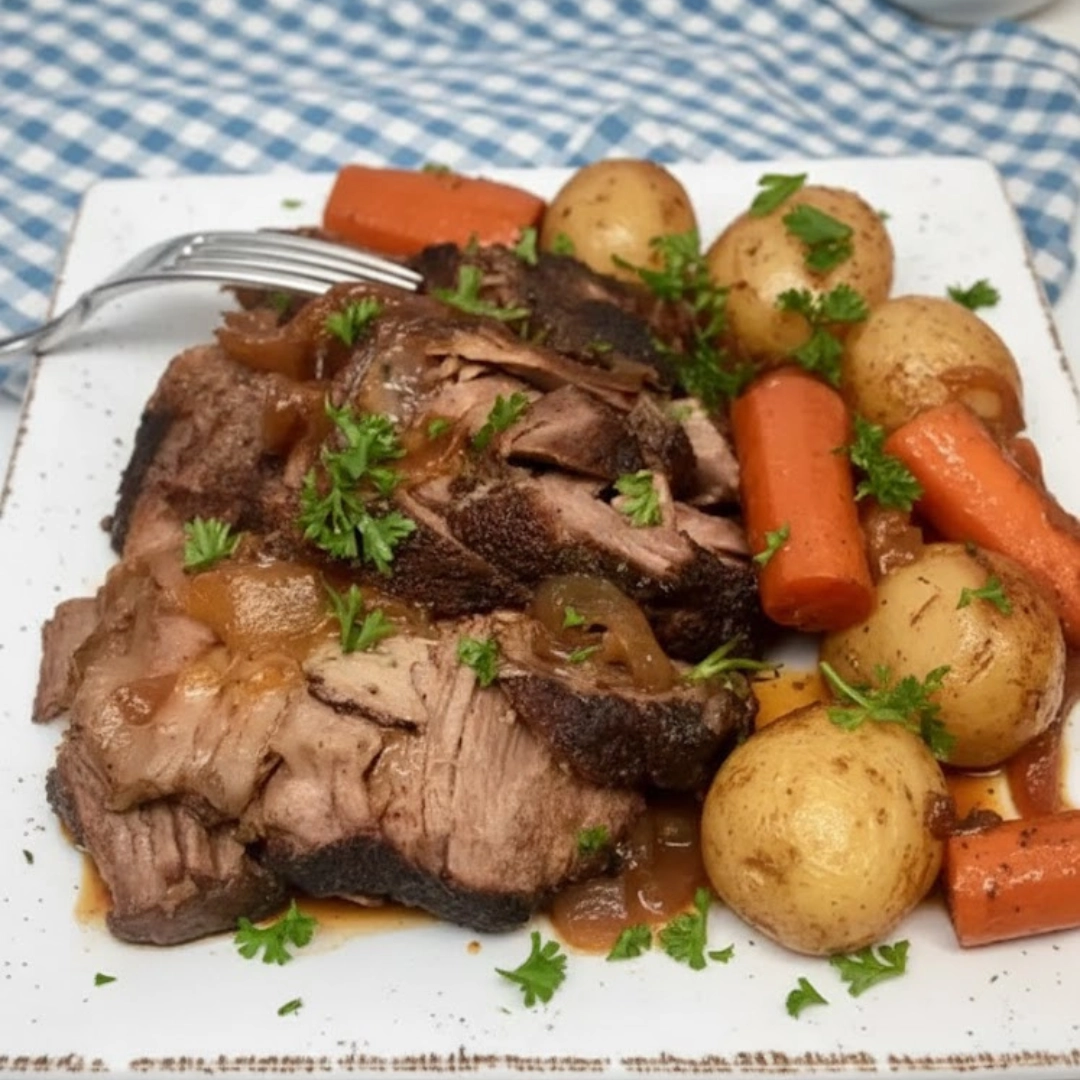
While the traditional version is a purist’s delight, you can adapt the flavor profile. For a deeper, earthier sauce, replace the cup of water with a dry red wine like Cabernet Sauvignon or a dark stout beer. If you prefer a more herbaceous note, tuck two sprigs of fresh rosemary and three sprigs of thyme under the meat during the three hundred fifty Fahrenheit stage. To make this a one-pot meal, add peeled carrots and halved Yukon Gold potatoes during the final two hours of cooking; they will absorb the beef fat and onion juices, becoming incredibly flavorful and tender.

How to Serve Your Roast
The classic presentation involves slicing the beef against the grain into thick slabs, rather than shredding it. Arrange the slices on a warm platter and drench them in the hand-mashed onion gravy. This dish is traditionally paired with creamy mashed potatoes or buttered egg noodles to soak up the extra sauce. For a brighter contrast, serve a side of horseradish cream or a crisp green salad with a vinegar-based dressing to cut through the richness of the beef.
Common Questions About Pot Roast
Can I use a chuck roast instead of a bottom round?
Yes, a chuck roast works beautifully with this method. It has a higher fat content and more marbling, which often results in an even more tender finished product, though the gravy may require skimming a bit of excess oil off the top before serving.
Why is my meat still tough after four hours?
Toughness usually indicates the connective tissue hasn’t fully broken down yet. This can happen if the pot wasn’t sealed tightly enough or if the roast was particularly lean. Simply add a splash of water, cover it back up, and continue cooking in thirty-minute increments.
What is the best way to reheat leftovers?
To keep the meat moist, reheat slices in a covered skillet with a bit of the leftover gravy or beef broth over low heat. Avoid the microwave if possible, as it tends to toughen the beef fibers.
Is it necessary to use a Dutch oven?
While a heavy cast iron Dutch oven is best for heat retention, any heavy, oven-safe roasting pan with a very tight-fitting lid will produce excellent results.
Nutrition Information
| Nutrient | Amount per Serving |
| Calories | 237 kcal |
| Protein | 34 g |
| Carbs | 4 g |
| Fat | 9 g |
| Fiber | 1 g |
| Sugar | 1 g |
| Sodium | 150 mg |
Disclaimer
Nutrition information is an estimate and may vary based on preparation and ingredients used.
PrintGrandma’s Best Pot Roast

This traditional Grandma’s Best Pot Roast uses a unique two-stage oven method to create incredibly tender beef and a rich, hand-mashed onion gravy without any store-bought stocks.
- Prep Time: 10 mins
- Cook Time: 4 hours 30 mins
- Total Time: 5 hours
- Yield: 6 servings 1x
- Category: Main Course
- Method: Slow Roasted
- Cuisine: American
Ingredients
3 pound bottom round roast
1 large yellow onion, roughly chopped
1/4 teaspoon salt
1/4 teaspoon ground black pepper
1/4 teaspoon garlic powder
1 cup water
1 tablespoon all-purpose flour
Instructions
1. Preheat oven to four hundred Fahrenheit.
2. Season roast with salt, pepper, and garlic powder; place in Dutch oven fat-side up with onions.
3. Cover and roast for 90 minutes.
4. Reduce heat to three hundred fifty Fahrenheit and cook for 3 hours, turning every 30 minutes.
5. Rest the meat for 20 minutes after removing from oven.
6. Whisk flour and water, then stir into pan drippings on stovetop to create gravy.
Notes
Leave the fat cap on the beef for natural basting.
Ensure the lid is tight to prevent moisture loss.
Resting for 20 minutes is critical for clean slicing.
Nutrition
- Serving Size: 1 slice with gravy
- Calories: 237
- Sugar: 1g
- Sodium: 150mg
- Fat: 9g
- Saturated Fat: 4g
- Unsaturated Fat: 4g
- Trans Fat: 0g
- Carbohydrates: 4g
- Fiber: 1g
- Protein: 34g
- Cholesterol: 95mg


