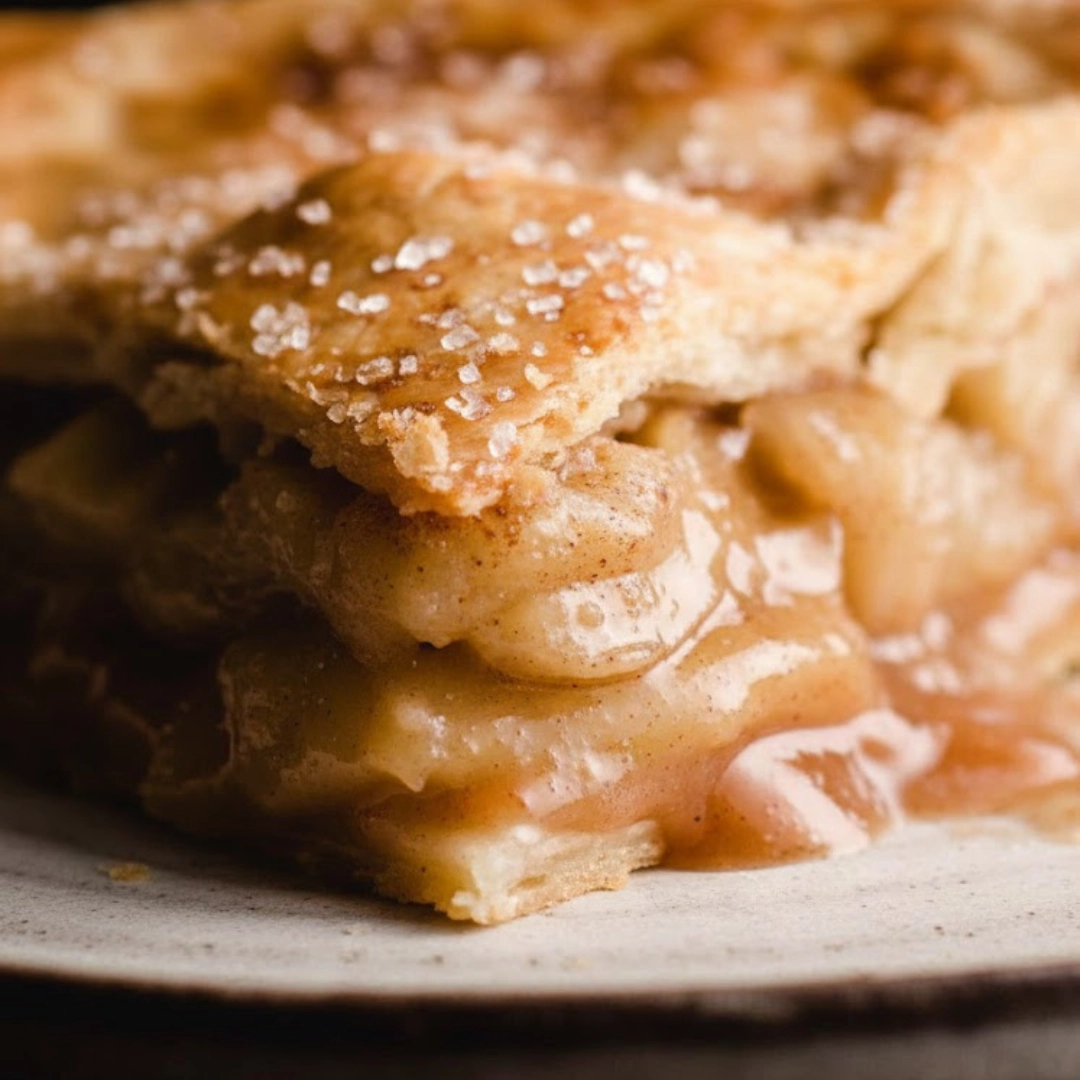
This apple pie recipe brings together a flaky, golden crust and a perfectly balanced cinnamon-spiced filling made with tender, juicy apples. The combination of tart and sweet fruit, warm spices, and a buttery crust creates a classic dessert that’s both cozy and timeless. Developed with tested ratios and clear steps, this recipe avoids common issues like soggy bottoms or undercooked centers, ensuring consistent, reliable results every time. Whether serving it for holidays, family gatherings, or weekend baking, this apple pie delivers the comforting aroma and traditional flavor that make it a true favorite.
Table of Contents
The Essential Ingredients for a Classic Apple Pie
A great pie starts with high-quality ingredients, specifically chosen for their role in the final texture and flavor.
Choosing the Best Apples for Baking: Science of Sweetness and Texture
The type of apple you choose is the single most important factor. You want an apple that holds its shape during baking (firm texture) and offers a good balance of tartness and sweetness (flavor balance).
- Firmness: Apples like Granny Smith are excellent because they are high in pectin and low in starch, which means they maintain their structure and don’t turn into mush.
- Flavor: Using a mix of apples is what gives a pie depth. Try combining tart Granny Smiths with a sweeter, slightly firmer variety like Honeycrisp, Fuji, or Gala. This blend of sweet and tart is what creates that classic, complex flavor profile.

The Secret to a Flaky Pie Crust (Fat vs. Flour Ratios)
The foundation of any good pie is a great crust. As someone who has cooked this dish for years, I’ve found that using cold, high-quality fat is non-negotiable.
- Fat: Use cold unsalted butter cut into small cubes. The butter should be worked into the flour until the pieces are about the size of small peas. When the cold butter melts in the oven, it releases steam, which separates the layers of dough, resulting in a beautiful, flaky texture.
- Water: Use ice-cold water. This keeps the fat solid and limits gluten development, ensuring the crust remains tender and doesn’t become tough.
The Perfect Thickener: Cornstarch vs. All-Purpose Flour
To prevent a runny pie filling, you need a thickener.
- Cornstarch creates a glossy, clear filling and is a powerful thickener. It works well but can sometimes feel gelatinous if overused.
- All-Purpose Flour is a reliable option that gives the filling a slightly opaque, traditional look. Based on my experience adjusting flavors for different palates, I recommend a combination of the two for the perfect balance of clarity and structure.
Step-by-Step Instructions for a Flawless Apple Pie
Following these tested steps ensures every element of your pie—from crust to filling—is perfect.
Preparing the Filling (The Importance of Resting Time)
- Peel, core, and slice your apples to a uniform thickness (about $1/4$ inch).
- In a large bowl, toss the apples with sugar (white and brown), spices (cinnamon, nutmeg), and your thickeners.
- The Rest: Let the apple mixture sit for 30 minutes. This essential resting time allows the sugar to draw moisture out of the apples, creating a delicious syrup. This syrup is then incorporated back into the filling, preventing a watery filling later.

Expert Pie Assembly: Avoiding the Soggy Bottom
The key to preventing a soggy bottom is two-fold: technique and temperature.
- Blind Baking: Although optional, par-baking the bottom crust for 10–15 minutes before adding the filling is the most effective way to guarantee a crispy base.
- Chilling: Line your pie dish with the bottom crust and chill it while you prepare the filling. Transfer the filling to the cold crust, top with the second crust, and seal the edges tightly.
- Vents: Cut 4–5 vents into the top crust to allow steam to escape. If steam is trapped, it turns back into liquid and makes the crust wet.
The Baking Method: Time, Temperature, and Tent Technique
Baking at two different temperatures ensures the crust gets golden brown while the apples cook through.
- Preheat your oven to $425^{\circ}\text{F}$ ($220^{\circ}\text{C}$).
- Bake the pie at $425^{\circ}\text{F}$ for the first 15–20 minutes. This sets the crust rapidly.
- Reduce the temperature to $375^{\circ}\text{F}$ ($190^{\circ}\text{C}$) and continue baking for another 35–45 minutes.
- Tenting: If the edges of the crust begin to brown too quickly, cover them loosely with aluminum foil (a technique known as “tenting”).
- The pie is done when the juices are visibly bubbling through the vents and the crust is deep golden brown.
Pro Culinary Tips & Flavor Variations
After testing this pie multiple times, I’ve gathered some simple tricks for elevating the final product. If you’re looking for more simple dessert ideas that require less baking time, you might enjoy trying a no-bake option.
Ingredient Substitutions (Gluten-Free Flour and Sugar Alternatives)
- Gluten-Free Crust: Replace all-purpose flour with a 1:1 gluten-free baking blend that contains xanthan gum. The method of keeping the fat and water cold remains crucial.
- Sugar Alternatives: You can use granulated Erythritol or a Monk Fruit sweetener blend in place of sugar, but note that this may slightly affect the caramelization and browning of the filling.

Tips for a Beautiful Lattice Top or Crimped Edge
A beautifully finished pie signals effort and expertise.
- Lattice: For a classic lattice, chill your pastry strips after cutting them. Working with cold strips makes weaving significantly easier.
- Crimping: Use the back of a fork to press and seal the edges, or use your thumb and forefinger to pinch and fold the dough together to create a fluted, decorative edge. Brushing the top crust with an egg wash (one egg whisked with a tablespoon of water) and sprinkling with coarse sugar adds shine and crunch.
Serving and Storage Recommendations
Allowing the pie to cool is just as important as the baking process.
- Cooling: Allow the pie to cool on a wire rack for at least 3 hours. This lets the filling fully set. Cutting the pie too early results in a runny, unstable slice.
- Serving: Serve warm with a scoop of vanilla bean ice cream or a slice of sharp cheddar cheese.
- Storage: Store cooled, covered leftovers at room temperature for up to 2 days, or in the refrigerator for up to 4 days. If you’re looking for an alternative simple side dish, a fresh
pasta saladis always a hit at gatherings. - Freezing: Whole baked pies can be wrapped tightly and frozen for up to 3 months. Thaw overnight in the refrigerator and reheat at $350^{\circ}\text{F}$ ($175^{\circ}\text{C}$) until warmed through.
Disclaimer: This content is for educational purposes only and does not replace professional dietary or medical advice.
Don’t miss to follow us in Pinterest.
Frequently Asked Questions (FAQs) About Homemade Apple Pie
Do I need to peel the apples?
Yes, for a classic, smooth filling, peeling is essential. Apple peels can become tough and chewy during baking, detracting from the tender texture of the cooked fruit.
How do I prevent my crust from burning?
If your crust is browning too quickly, use the “tenting” method. Cut a ring of aluminum foil and place it over the edge of the pie crust to shield it from the direct heat of the oven, allowing the filling to finish cooking without burning the edges.
Can I make the pie dough ahead of time?
Absolutely. You can prepare the pie dough and wrap it tightly in plastic wrap. It can be stored in the refrigerator for up to 3 days or frozen for up to 3 months. Always thaw frozen dough in the refrigerator overnight before rolling it out.
The Tested & Perfect Homemade Apple Pie Recipe
This reliable, well-tested homemade apple pie recipe is guaranteed to give you a flaky crust and perfectly spiced filling. Our guide includes expert tips on apple selection and preventing a soggy bottom.
- Prep Time: 40 mins
- Cook Time: 60 mins
- Total Time: 1 hour 40 mins
- Yield: 8 servings 1x
- Category: Dessert
- Method: Baking
- Cuisine: American
Ingredients
1 recipe double crust pie dough (chilled)
6–8 medium apples (Granny Smith, Honeycrisp, or a mix)
3/4 cup granulated sugar
1/4 cup packed light brown sugar
2 tablespoons all-purpose flour
1 tablespoon cornstarch
1 teaspoon ground cinnamon
1/4 teaspoon ground nutmeg
1 tablespoon lemon juice
1 large egg (for egg wash)
1 tablespoon water (for egg wash)
1 teaspoon coarse sugar (for topping)
Instructions
1. Roll out one disc of pie dough and place it into a 9-inch pie dish. Trim and chill.
2. Peel, core, and slice the apples (1/4 inch thick). Toss apples with all sugars, flour, cornstarch, spices, and lemon juice. Let rest for 30 minutes to draw out juices.
3. Pour the apple filling into the chilled pie crust. Roll out the second dough disc and place it on top (or create a lattice). Seal the edges and crimp. Cut 4-5 vent holes in the top crust.
4. Preheat oven to 425°F (220°C). Brush the top crust with an egg wash (egg mixed with water) and sprinkle with coarse sugar.
5. Bake at 425°F for 15 minutes. Reduce temperature to 375°F (190°C) and bake for an additional 45-50 minutes, tenting the edges with foil if they brown too quickly. The pie is done when the juices bubble thickly.
6. Cool the pie on a wire rack for at least 3 hours to allow the filling to set completely before slicing and serving.
Notes
Use a mix of tart and sweet apples for the best flavor balance.
Always use cold butter and ice water for a flaky crust.
Allowing the pie to cool fully prevents a runny filling.
Nutrition
- Serving Size: 1 slice
- Calories: 350
- Sugar: 25g
- Sodium: 250mg
- Fat: 14g
- Saturated Fat: 7g
- Unsaturated Fat: 5g
- Trans Fat: 0g
- Carbohydrates: 55g
- Fiber: 4g
- Protein: 4g
- Cholesterol: 40mg


