The aroma of blooming onions always takes me back to childhood summer evenings. The local fair would come to town, and the air would be thick with the scent of fried dough, popcorn, and, of course, that iconic, monstrous onion, expertly carved and deep-fried to golden perfection. Back then, it felt like the epitome of culinary indulgence. As I grew older, and my palate became more refined, I began to appreciate the underlying flavors – the subtle sweetness of the onion, the savory spice blend, the satisfying crunch against the tender layers within. But, I also started to crave something…more. Something that elevated that comforting fairground classic into a truly sophisticated dish.
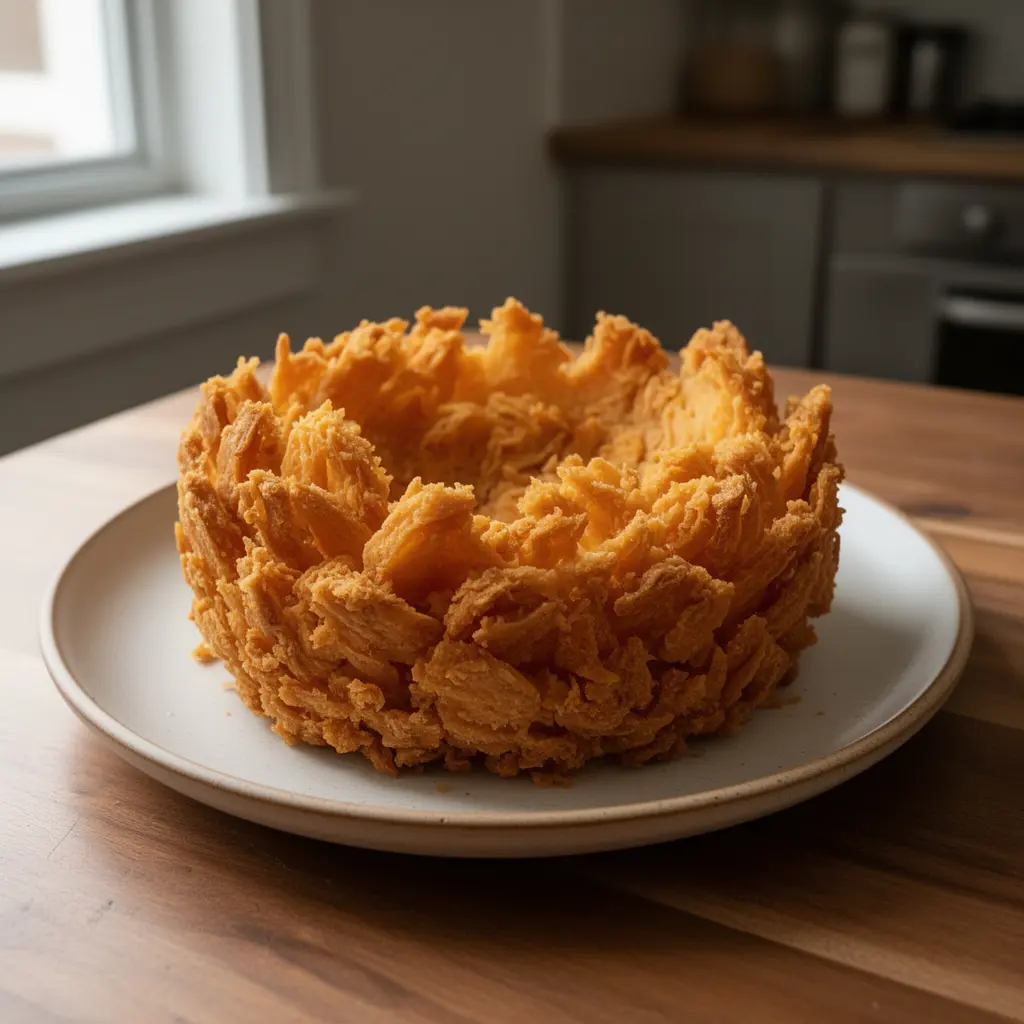
The challenge was: How could I capture the essence of a blooming onion, its textural delight and bold flavor profile, and translate it into an elegant, restaurant-worthy meal? The answer, as it often does, came from experimentation and a deep love for simple, perfectly executed ingredients. I envisioned succulent chicken breasts, coated with that familiar, crispy spiced batter, served alongside accompaniments that would complement and enhance the overall experience. And thus, the Bloomin Onion Chicken recipe was born. It’s a dish that marries nostalgia with modern culinary techniques, offering a delightful balance of textures, temperatures, and flavors. This isn’t just fried chicken; it’s an homage to joyful memories, transformed into a culinary masterpiece. A reminder that even the simplest pleasures can be elevated with a little creativity and passion. It’s about taking that fun, fairground feeling and placing it directly onto a beautifully plated dish, ready to impress.
Ingredient Deep Dive
| Ingredient | Quantity | Notes |
|---|---|---|
| Chicken Breasts | 4 (6oz each) | Boneless, skinless; pounded to ½-inch thickness |
| Large Yellow Onion | 1 | About 1 pound; for blooming and batter |
| All-Purpose Flour | 1 ½ cups | Divided, for dredging and batter |
| Cornstarch | ½ cup | For extra crispiness |
| Eggs | 2 large | Lightly beaten |
| Buttermilk | 1 cup | Adds tenderness and tangy flavor |
| Smoked Paprika | 2 teaspoons | Adds smoky depth |
| Garlic Powder | 1 teaspoon | Enhances savory notes |
| Onion Powder | 1 teaspoon | Complements the bloomin onion flavor |
| Cayenne Pepper | ½ teaspoon | Adds a hint of heat; adjust to taste |
| Dried Oregano | 1 teaspoon | Adds herbaceousness |
| Salt | 2 teaspoons | Or to taste |
| Black Pepper | 1 teaspoon | Freshly ground, to taste |
| Vegetable Oil | 3 cups | For deep-frying; peanut or canola oil can also be used |
Substitutions & Swaps
If you’re looking to tailor this recipe to your specific needs or dietary preferences, here are some excellent substitutions and swaps you can consider:
- Chicken: Boneless, skinless chicken thighs can be used in place of breasts. They tend to be juicier but will require a slightly longer cooking time. Alternatively, you can prepare this with firm tofu slices for a vegetarian option. Ensure to press the tofu well to remove excess moisture before coating it in the batter.
- Buttermilk: If you don’t have buttermilk on hand, you can easily make a substitute. Combine 1 cup of milk with 1 tablespoon of lemon juice or white vinegar. Let it sit for 5-10 minutes until it slightly curdles. Greek yogurt thinned with a little milk can also work.
- Flour: For a gluten-free alternative, use a gluten-free all-purpose flour blend. Make sure it contains xanthan gum for proper binding. Almond flour or tapioca flour are not recommended as they won’t provide the same crispy texture.
- Spices: Feel free to adjust the spice blend to your liking. For a spicier version, increase the amount of cayenne pepper. If you prefer a sweeter flavor, add a touch of brown sugar to the spice mixture. You can also experiment with other spices like chili powder, cumin, or smoked salt.
- Oil: While vegetable oil is a good all-purpose option, peanut oil or canola oil can also be used for deep-frying. These oils have a high smoke point, making them ideal for achieving a crispy, golden-brown crust. Avoid using olive oil, as it has a lower smoke point and can impart an undesirable flavor.
Equipment Guide
To create the Bloomin Onion Chicken successfully, having the right tools is paramount. Here’s a list of essential equipment:
- Large Chef’s Knife: A sharp knife is crucial for precisely slicing the onion and preparing the chicken breasts.
- Cutting Board: Choose a sturdy, non-slip cutting board for safety and stability while prepping ingredients.
- Shallow Bowls or Plates: Three shallow bowls or plates are needed for the dredging process – one for flour, one for the egg wash, and one for the spice-flour mixture.
- Meat Mallet or Rolling Pin: Useful for pounding the chicken breasts to an even thickness. This ensures uniform cooking and prevents the edges from drying out before the center is cooked through.
- Deep Pot or Dutch Oven: Essential for deep-frying the chicken. A heavy-bottomed pot will help maintain a consistent oil temperature.
- Spider Skimmer or Slotted Spoon: For safely removing the fried chicken from the hot oil.
- Wire Rack: Placed over a baking sheet, this allows excess oil to drain from the chicken and helps maintain its crispiness.
- Thermometer: A kitchen thermometer is vital for ensuring the oil reaches the optimal temperature (350°F/175°C) for frying and for confirming the chicken is cooked through to an internal temperature of 165°F (74°C).
Step-by-Step Walkthrough
1. Prepare the Onion: Start by slicing off the top of the onion, about ½ inch from the root. Peel off the outer layers of the onion. Place the onion root-side down on a cutting board. Using a sharp knife, make vertical cuts from the top of the onion towards, but not all the way through, the root. Leave about ½ inch of the root intact. Repeat this process around the entire onion, creating even “petals.” Gently separate the petals and soak the onion in ice water for at least 30 minutes. This will help them open up and become more pliable.
2. Prepare the Chicken: Place the chicken breasts between two sheets of plastic wrap. Using a meat mallet or rolling pin, pound them to an even ½-inch thickness. This ensures uniform cooking.
3. Mix the Dry Ingredients: In a shallow bowl, combine 1 cup of the all-purpose flour, cornstarch, smoked paprika, garlic powder, onion powder, cayenne pepper, dried oregano, salt, and pepper. Mix well to ensure the spices are evenly distributed.
4. Prepare the Wet Ingredients: In a separate shallow bowl, whisk together the eggs and buttermilk.
5. Dredge the Chicken: Place the remaining ½ cup of all-purpose flour in another shallow bowl. Dredge each chicken breast in the flour, shaking off any excess. Then, dip it into the egg mixture, ensuring it’s fully coated. Finally, dredge it in the spice-flour mixture, pressing gently to help the coating adhere.
6. Prepare the Bloomin Onion Batter: Remove the blooming onion from the ice water and pat it dry with paper towels. Divide the remaining spiced dry ingredients, adding half to a bowl with 1/2 cup of buttermilk to form a thick batter. Dip the blooming onion into this batter ensuring each petal is coated.
7. Heat the Oil: Pour the vegetable oil into a deep pot or Dutch oven. Heat the oil over medium-high heat until it reaches 350°F (175°C). Use a thermometer to monitor the temperature.
8. Fry the Chicken: Carefully lower the coated chicken breasts into the hot oil, one at a time, to avoid overcrowding the pot. Fry the chicken for 4-5 minutes per side, or until golden brown and cooked through to an internal temperature of 165°F (74°C).
9. Fry the Bloomin Onion: Lower the battered blooming onion into the hot oil. Fry for 5-7 minutes, turning occasionally, until golden brown and the batter is cooked through. The onion should be tender.
10. Drain and Rest: Remove the fried chicken and blooming onion from the oil using a spider skimmer or slotted spoon. Place them on a wire rack set over a baking sheet to drain excess oil. Allow them to rest for a few minutes before serving.
11. Serve: Serve the Bloomin Onion Chicken immediately, with your favorite dipping sauces and sides.
Expert Tips & Troubleshooting
- Oil Temperature is Key: Maintaining the oil temperature is crucial for achieving crispy, evenly cooked chicken. If the oil is too cold, the chicken will absorb too much oil and become greasy. If it’s too hot, the outside will burn before the inside is cooked through. Use a thermometer to monitor the temperature and adjust the heat as needed.
- Don’t Overcrowd the Pot: Frying too many pieces of chicken at once will lower the oil temperature and result in soggy, unevenly cooked chicken. Fry in batches, ensuring there is enough space between each piece.
- Prevent Soggy Chicken: To avoid soggy chicken, make sure to thoroughly dry the chicken breasts after pounding them. Also, ensure the coating is evenly applied and press it gently to help it adhere. Using cornstarch in the flour mixture also helps create a crispier crust.
- Blooming Onion Challenges: Slicing the onion correctly takes practice. Use a sharp knife and apply even pressure. Soaking the onion in ice water is essential for opening up the petals and making them more pliable. If the petals are not separating easily, gently loosen them with your fingers.
- Seasoning Tips: Taste the spice mixture before dredging the chicken. Adjust the seasoning to your liking, adding more salt, pepper, or cayenne pepper as needed.
- Chicken Cooked Through? Always check the internal temperature of the chicken with a meat thermometer to ensure it’s cooked through to 165°F (74°C). This is the safest way to prevent foodborne illness. Insert the thermometer into the thickest part of the breast, avoiding the bone.
Flavor Variations
- Spicy Nashville Hot Chicken: Add a generous amount of cayenne pepper and a dash of brown sugar to the spice mixture. After frying, brush the chicken with a hot oil mixture made with cayenne pepper, paprika, and melted butter.
- Lemon Herb Chicken: Incorporate lemon zest, dried thyme, rosemary, and parsley into the spice mixture for a bright, herbaceous flavor. Serve with a lemon-herb aioli.
- Honey Garlic Chicken: After frying, toss the chicken in a honey-garlic glaze made with honey, soy sauce, garlic, and a touch of ginger.
- Cajun-Spiced Chicken: Use a Cajun spice blend in place of the regular spice mixture. Serve with a remoulade sauce.
- Mediterranean Chicken: Add dried oregano, basil, and a pinch of red pepper flakes to the spice blend. Serve with a tzatziki sauce.
Storage & Reheating
- Storage: Leftover Bloomin Onion Chicken should be stored in an airtight container in the refrigerator. It will keep for up to 3 days.
- Reheating: The best way to reheat fried chicken and maintain its crispiness is in the oven. Preheat your oven to 350°F (175°C). Place the chicken on a wire rack set over a baking sheet and bake for 10-15 minutes, or until heated through.
- Avoid Microwaving: Microwaving fried chicken will make it soggy. If you must use a microwave, place a paper towel underneath the chicken to absorb some of the moisture. Reheat in short intervals to avoid overcooking.
- Freezing: While not ideal, you can freeze leftover fried chicken. Wrap each piece tightly in plastic wrap, then place them in a freezer-safe bag or container. Freeze for up to 2 months. Thaw the chicken in the refrigerator overnight before reheating in the oven.
FAQ Section
- Can I prepare the chicken ahead of time? Yes, you can prepare the chicken up to the point of frying. Dredge the chicken in the flour, egg wash, and spice mixture, then store it in the refrigerator for up to 2 hours before frying. This will save you time on the day of.
- How do I keep the chicken warm while frying in batches? Preheat your oven to 200°F (95°C). Place the fried chicken on a wire rack set over a baking sheet and keep it in the warm oven until ready to serve. This will help maintain its crispiness.
- What dipping sauces go well with this chicken? Classic dipping sauces like ranch dressing, honey mustard, and barbecue sauce pair well with Bloomin Onion Chicken. For a more elevated experience, try a horseradish aioli, remoulade sauce, or a spicy sriracha mayo.
- Is it possible to bake the chicken instead of frying it? While fried chicken will always have a distinct texture, you can bake it as a healthier alternative. Preheat your oven to 400°F (200°C). Place the dredged chicken on a wire rack set over a baking sheet. Spray it generously with cooking spray and bake for 20-25 minutes, or until cooked through and golden brown. The texture will not be as crispy as fried chicken, but it will still be flavorful.
Nutrition Information
(Approximate values per serving, excluding dipping sauces)
| Nutrient | Amount |
|---|---|
| Calories | 450 |
| Protein | 40g |
| Fat | 25g |
| Saturated Fat | 5g |
| Cholesterol | 150mg |
| Sodium | 800mg |
| Carbohydrates | 20g |
| Fiber | 2g |
| Sugar | 5g |
Disclaimer: Nutrition information is an estimate only and can vary based on specific ingredients and preparation methods.